
Scenery:
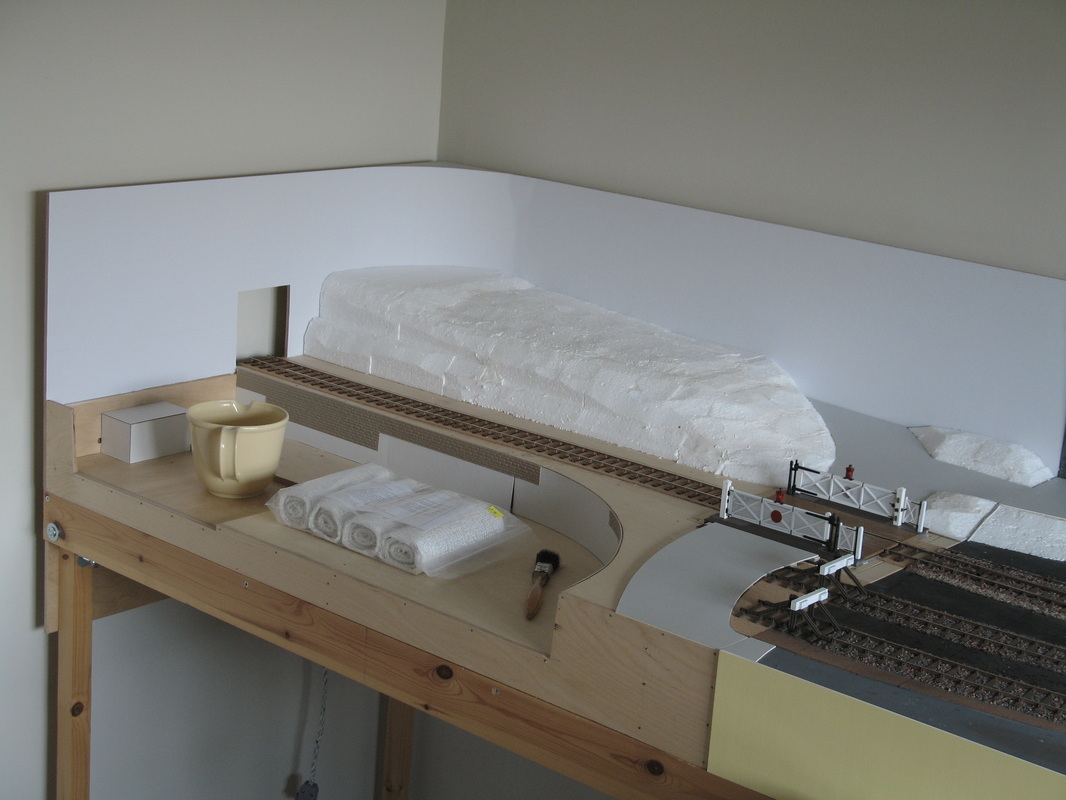
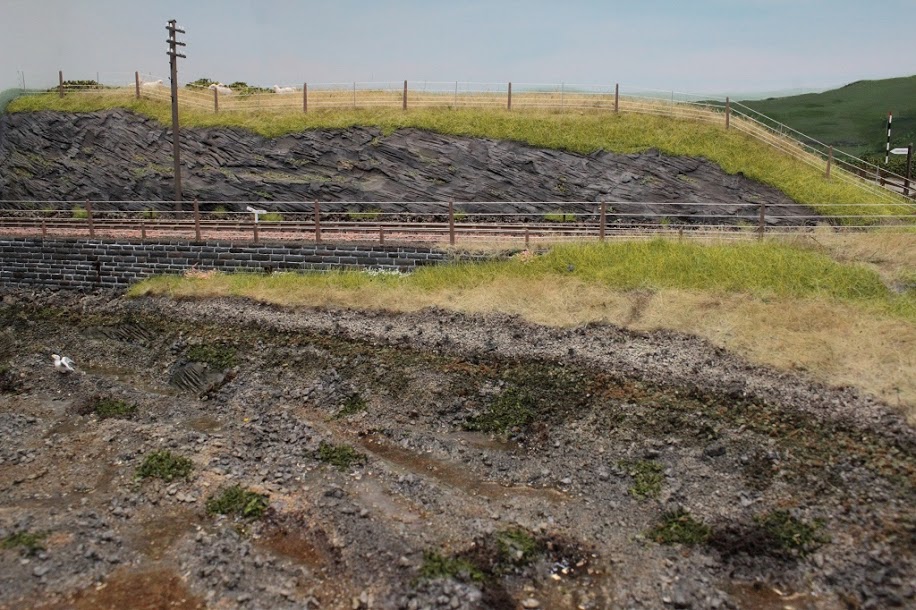
Land Forming & Surfacing: The basic contours were built up in the time honoured fashion from polystyrene blocks carved to shape. This was then covered in plaster impregnated bandage (Modroc or similar) and finally DIY filler as required.
In the case of rock faces and the like the filler was carved with a palette knife before it had completely set. There then followed a lot of trial and error with water colour paints until I got the effect I was looking for. The only advice I can give is to have a photograph or two for reference and remember that creating darker patches where areas would be in shade makes a big difference. Also, decide where the sun is shining from so your painted shadows are consistent.
Grass is either carpet underlay stuck down with PVA and, once dry, teased up and trimmed with scissors or commercial "sheet" grass cut and trimmed as necessary to suit the location.
There are areas where static grass fibres have been used and my advice here is to use a mixture of fibre colours and lengths and to use one of the commercially available PVCs specifically made for sticking static grass - they work much better than ordinary PVA.
Road surfaces are simply painted card but where a rougher surface was needed I used a textured paint, which is horribly gritty stuff, but along with fine scatter material you eventually get something that you can be satisfied with!
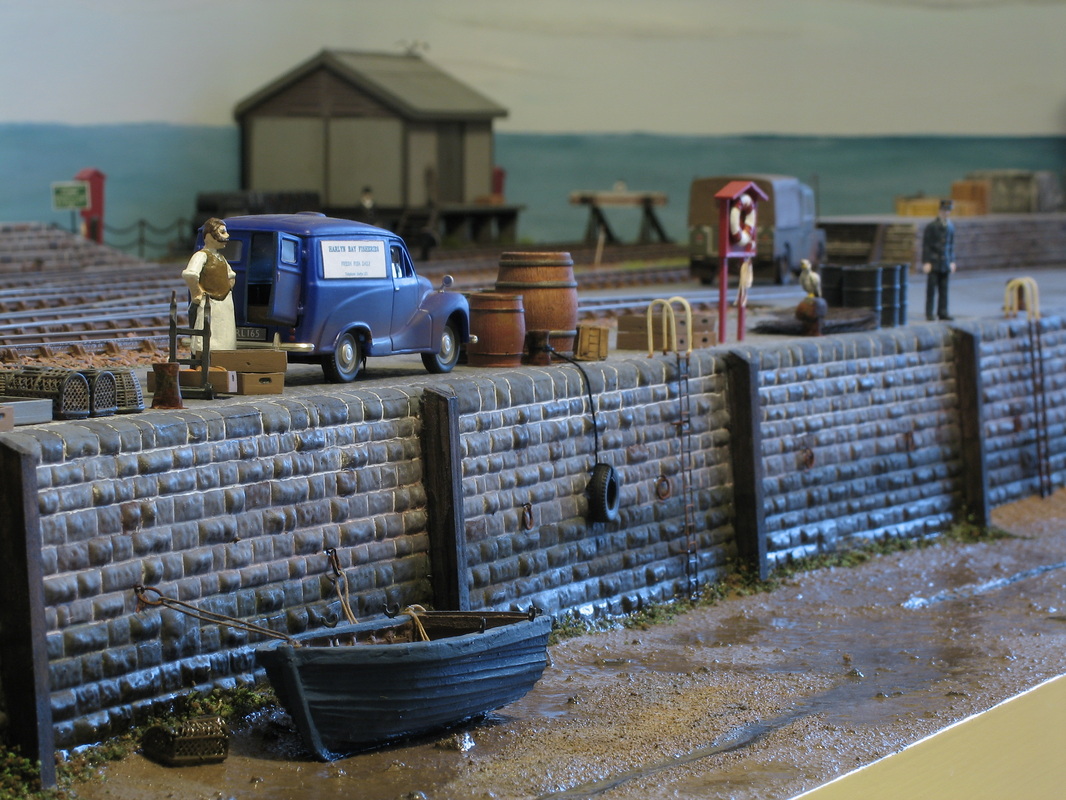
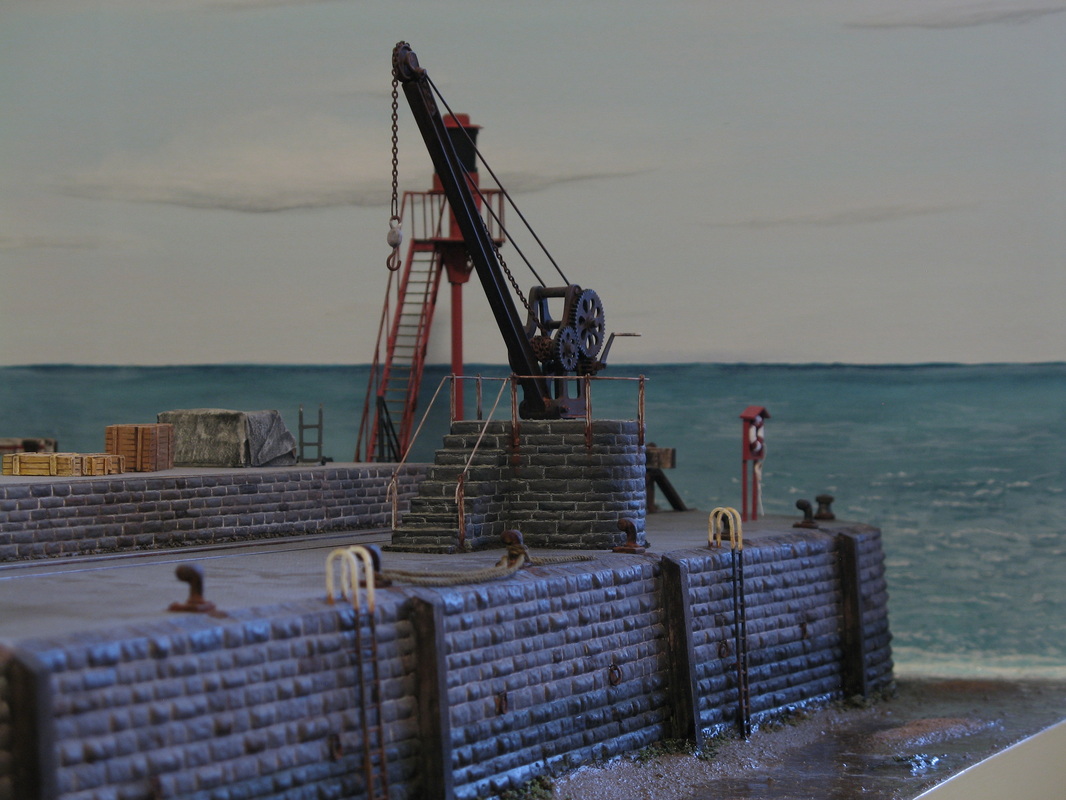
For the cobbles on the quayside I have used 'Slaters' plasticard sheet cobbles for the area at the far end of the quay which I wanted to look newer than the other areas. The rest of the quayside is surfaced with 'Redutex' textured sheets (Med. Grey Stone Setts) from 'Model Textures Ltd'. They are a bit on the pricey side but they look brilliant and are easy to use. It's quick too as they are ready coloured!
In the case of rock faces and the like the filler was carved with a palette knife before it had completely set. There then followed a lot of trial and error with water colour paints until I got the effect I was looking for. The only advice I can give is to have a photograph or two for reference and remember that creating darker patches where areas would be in shade makes a big difference. Also, decide where the sun is shining from so your painted shadows are consistent.
Grass is either carpet underlay stuck down with PVA and, once dry, teased up and trimmed with scissors or commercial "sheet" grass cut and trimmed as necessary to suit the location.
There are areas where static grass fibres have been used and my advice here is to use a mixture of fibre colours and lengths and to use one of the commercially available PVCs specifically made for sticking static grass - they work much better than ordinary PVA.
Road surfaces are simply painted card but where a rougher surface was needed I used a textured paint, which is horribly gritty stuff, but along with fine scatter material you eventually get something that you can be satisfied with!
For the cobbles on the quayside I have used 'Slaters' plasticard sheet cobbles for the area at the far end of the quay which I wanted to look newer than the other areas. The rest of the quayside is surfaced with 'Redutex' textured sheets (Med. Grey Stone Setts) from 'Model Textures Ltd'. They are a bit on the pricey side but they look brilliant and are easy to use. It's quick too as they are ready coloured!
|

|
|
Water & Mud: I had decided that, to be a bit different, I would model the quayside with the tide out. This also meant that I wouldn't have the problem of joins in the water where baseboards abut - always difficult to disguise!
The basic surface was built up with filler and/or ready mixed ceramic tile adhesive. Small rocks and gravel etc. were added as well as various surface textures and the areas painted with water colours and/or textured paint. Then came the tricky bit! I used 'Deluxe Materials' Solid Water for the rock pools and puddles etc. and also to get the "wet mud" look that I was after. Where I wanted the look of ripples or the tide starting to come in I used a mixture of the Solid Water and also the same companies Making Waves material which is a bit like PVA but holds the shape you for and dries clear. The Solid Water was applied either with a syringe (for deeper areas) or a paint brush and I added a touch of white acrylic paint where I wanted to suggest waves that had broken. It was all actually easier than I anticipated and quite enjoyable.
The basic surface was built up with filler and/or ready mixed ceramic tile adhesive. Small rocks and gravel etc. were added as well as various surface textures and the areas painted with water colours and/or textured paint. Then came the tricky bit! I used 'Deluxe Materials' Solid Water for the rock pools and puddles etc. and also to get the "wet mud" look that I was after. Where I wanted the look of ripples or the tide starting to come in I used a mixture of the Solid Water and also the same companies Making Waves material which is a bit like PVA but holds the shape you for and dries clear. The Solid Water was applied either with a syringe (for deeper areas) or a paint brush and I added a touch of white acrylic paint where I wanted to suggest waves that had broken. It was all actually easier than I anticipated and quite enjoyable.
|
|
Backscene: When I started 'Harlyn Pier' photographic backscenes hadn't been thought of. Also, unless very well done they don't (in my opinion) always work. I am certainly not an artist by any stretch of the imagination but at the 'St.Albans Show' one year I saw a display explaining how to paint your own backscenes. Well, this spurred me on to have a go! I worked from some photographs of the North Cornwall coast and using artists acrylics to paint the lining paper that I had stuck to the ply boards I followed the instructions that Rob (him again!) had photographed for me at St.Albans. Honestly, it wasn't that difficult and anything that I wasn't happy with I just painted over until I was satisfied.
The advantage of painting your own backscene is that you can make it exactly fit your scenery and location and the size and perspective will be correct as well. My advice; have a try - if I can do it anyone can!
The advantage of painting your own backscene is that you can make it exactly fit your scenery and location and the size and perspective will be correct as well. My advice; have a try - if I can do it anyone can!
